MP Warlords – Arma 3
Jump to navigation
Jump to search
-wrong parameter ("a3") defined!-[[:Category:Introduced with a3 version 1.86|1.86]]
This page will provide you with information required to set up your own Warlords scenario.
Eden editor
Here you will find the summary of work that needs to be done in the scenario editor.
1. Place Warlords modules
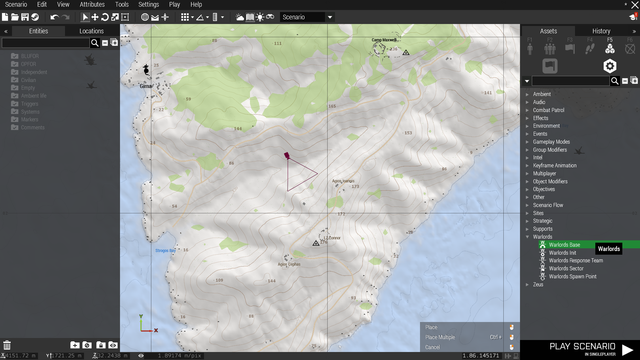
- All Warlords modules can be found under Systems > Warlords.
- Place the Warlords Init module anywhere on the map (its position is irrelevant).
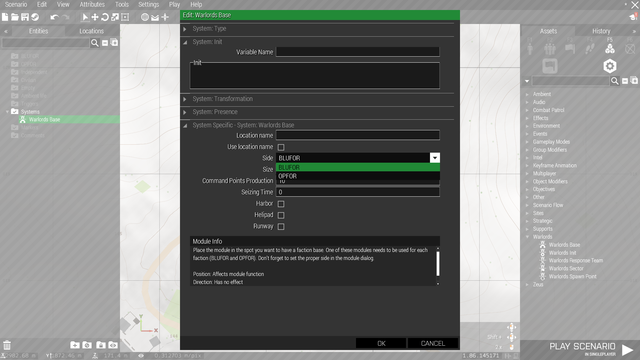
- Feel free to tweak the settings in the module window (you open this window by double clicking on a placed module icon). Check the tooltips for each parameter.
- Place two Warlords Base modules (one for each faction) on the locations you want to have the starting faction bases.
- Don't forget to properly set up the side parameter in the module window!
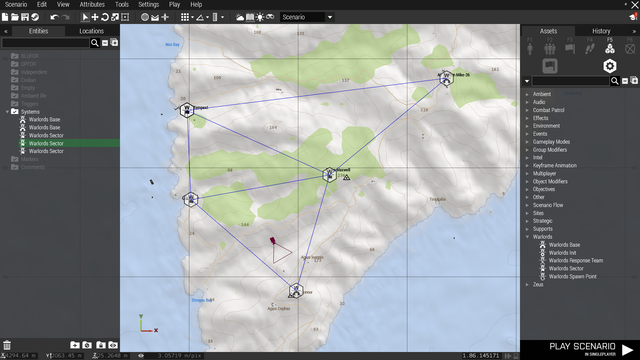
- Place Warlords Sector modules on desired sector locations.
- You can change various parameters for individual sectors and bases in their module windows.
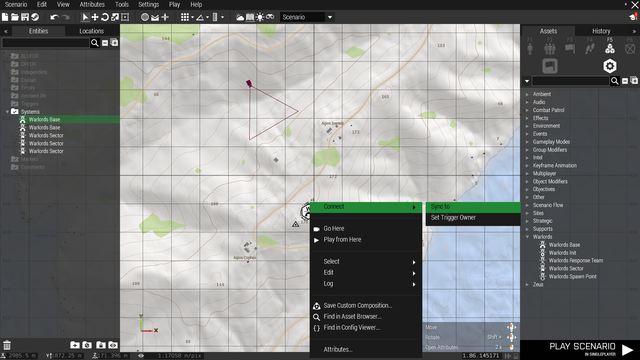
- Connect the bases and the sectors by right clicking on any of them, selecting "Connect > Sync to" and left clicking on the sector or base you want to connect.
- Repeat this for other sectors until you've got all the sectors and bases linked in a reasonable way.
- Feel free to experiment with the other Warlords modules as well, you will find details on how to use them in their module windows.
2. Place playable units
- You should place the playable units inside their respective faction bases.
- The type or number of playable units is up to you.
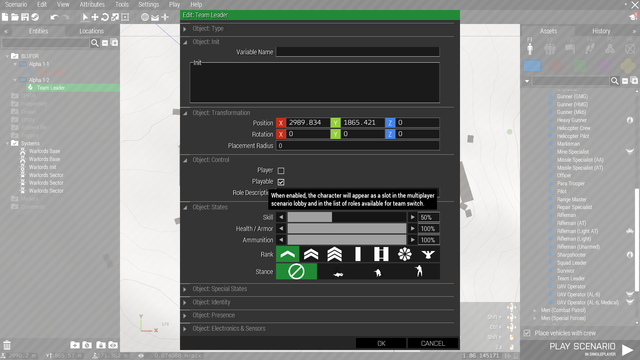
- Make sure all of them are set as Player or Playable.
- Make sure that all playable units are in separate groups.
3. Set up multiplayer rules
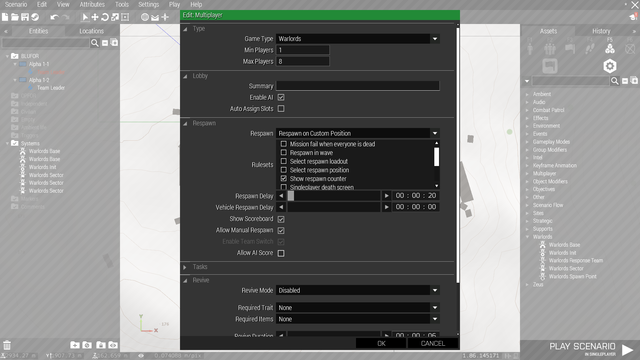
- You will find these settings under Attributes > Multiplayer... in the toolbar at the top of the screen.
- You can set most of these to your liking, however there is one attribute that needs to be set up specifically in order wor the mode to work properly:
- Respawn has to be set to Respawn on Custom Position
- Respawn delay is up to you, the default used in all official missions is 20 seconds.
4. Done!
Congratulations, your scenario is ready! These were all steps required to have a fully working Warlords mission. Following are some more in-depth customization options.
Additional options
Here you will learn how to enable Warlords parameters in teh multiplayer lobby, and how to use your custom assets in the in-game Request menu.
1. Parameters
- If you enable these Parameters in your scenario, players will be able to tweak and override the scenario rules set up in the Init module.
- Save your scenario via Scenario > Save As... from the toolbar at the top of the screen.
- Name the scenario, select the MPMissions folder and hit Save.
- Switch to your desktop and open your scenario folder. You can find it in Documents\Arma 3\MPMissions\ (you should see a file called mission.sqm here).
- Inside this folder, create a file called description.ext.
- Copypaste this line into the file and save it:
#include "\A3\Missions_F_Warlords\cfgMissionParams.inc"
- Next time you start your scenario in multiplayer, you should see a button labelled Paramters in the lobby.
- Here you will be able to set up Warlords rules to your liking.
