World Editor: Terrain Creation Tool – Arma Reforger
Manage
Height Map
The height map is terrain altitude's information. World Editor can work with both .asc and 16-bit .png height map files. The section offers options to import, export, and rebuild the height map.
Import Height Map
This option allows to import a height map from an external source or a World Editor export.
It allows to invert in X and Z axis, importing the terrain "from right to left" (a hill being West of the terrain would be East) or "from bottom to top" (South would be North). Ticking both corresponds to a 180° terrain rotation.
The resampling heights option allows to override the terrain's altitude range by linear interpolation. It is required for png import as the png format only holds relative
| Original (-10 to +10m range) | -10 | -5 | 0 | 1 | 5 | 10 |
|---|---|---|---|---|---|---|
| Imported (0 to +100m range) | 0 | 25 | 50 | 55 | 75 | 100 |
Export Height Map
The Base/Modified option targets the terrain's height map - either the base terrain one, or the one modified by e.g road generators and other entities that edit terrain through script.
Rebuild Height Map
This button allows to rebuild the height map manually in the event it is not synchronised properly with the actual data (road, building placements).
Bake Selection
This "bakes" the selected entities' terrain modification into the base height map.
For example: if a building is placed on a slope, it flattens the terrain by default; this flattening follows the building and is destroyed with the building. With this button the building's flattening is stored into the height map and will remain even if that building is moved or deleted.
Generate Normal Map
Allows to (re)generate the terrain's normal map. Normal map interpolation settings (minimum and maximum angle for vertex interpolation) are only available when the Interpolation Mode option is set to Auto.
Satellite Map
Import satellite map
This imports a satellite map for the terrain, used for long-distance terrain texture.
Surface Map
Fix block border
This is to be used if hard edges between textures of neighbouring terrain blocks appear.
Change surface map size
Rebuild terrain materials
Rebuild terrain materials must be run if a layer map reimport goes wrong - in the event of wrong or missing clutter or when terrain material tracing does not work properly.
Options
Tile Map
The Tile Map is an overhead map of the terrain tiles.
Minimap Controls
Hold ![]() to drag the map around.
to drag the map around.
Scale To Fit
Fit the minimap to the view widget.
Center on Camera
Move the minimap so the camera position is centered.
Claim Tiles
Lock tiles so only your account can work on them.
Release Tiles
Release tiles so everyone can work on them.
Cogwheel
- Set Background Image
Set the minimap's texture.
- Clear Background Image
Remove the minimap's texture.
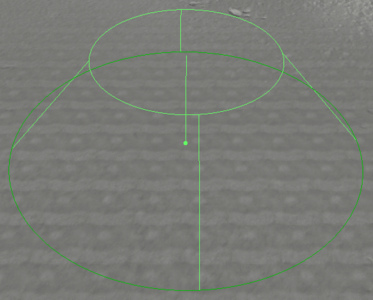
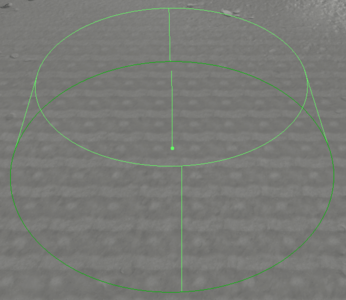
Sculpt
Common Values
Strength: strength of the effect - range 0..500
Height (in Flatten mode): wanted terrain's absolute height
Radius: radius (in metres) range 0..200
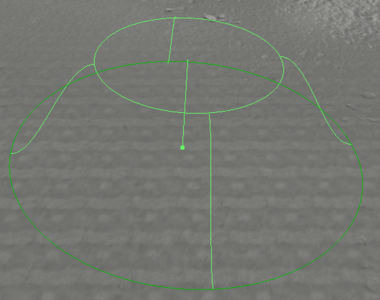
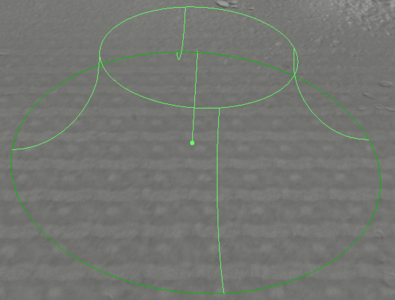
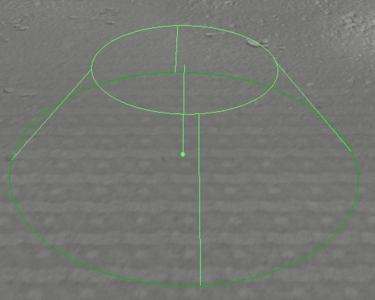
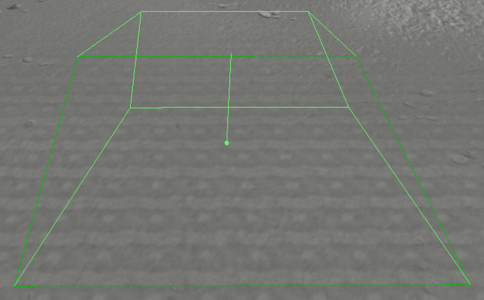
Falloff: the "cone/cylinder" slope ratio (see below) - range 0..100
Angle: the effect angle - range 0..360
Common Controls
| Controls | Effect |
|---|---|
| ⇧ Shift + Mouse up ⇧ Shift + Mouse down |
Set strength/height |
| Ctrl + Mouse up Ctrl + Mouse down |
Set radius |
| Ctrl + ⇧ Shift + Mouse up Ctrl + ⇧ Shift + Mouse down |
Set falloff |
| Ctrl + ⇧ Shift + Mousewheel | Set angle |

Linear
Smooth

Sphere
Inv-Sphere


Round
Rect
- User
- shown shape is identical to Rect
- Falloff does not impact the result
- Looks into the Data\Brushes directory


Falloff (small)
Falloff (medium)
Falloff (large)


Sculpt
![]() raises terrain according to Strength.
raises terrain according to Strength.
Alt + ![]() lowers the terrain.
lowers the terrain.
Flatten
Sets the terrain to a defined Height. Space picks the height of the current terrain position under the cursor.
Smooth
Softens edges.
Noise
Generates Perlin-based terrain noise.
Paint
A specific terrain tool used for painting surface materials on terrain ground.
- Paint tool is used for painting surface materials on a terrain ground with an adjustable brush. All paint brush properties can be set in the same tab.
- Information where each surface material is painted is stored as a mask inside game files upon saving a project. However, it is possible to both import and export each surface's mask in a .png file.
- As of Arma Reforger v0.9.5 there is a limit of 5 surfaces per block for a terrain.
| Feature | Screenshot | Description |
|---|---|---|
Basic Brush Settings |

|
Show diagnostics for block under cursor – this option enables a simple surface layer list per block tab in World Editor viewport when using Paint tool and hovering over terrain. Information about block under cursor will be shown. Useful as an overview to manage surfaces in multiple blocks efficiently while painting.
Strengthrange: 0..40 Strength of the brush. ⇧ Shift + MouseUp/⇧ Shift + MouseDown to adjust. Radiusrange: 0..200 Radius of the brush. Ctrl + MouseUp/Ctrl + MouseDown to adjust. Falloffrange: 0..100 Fadeout of the brush. Ctrl + ⇧ Shift + MouseUp/Ctrl + ⇧ Shift + MouseDown to adjust. Anglerange: 0..360 Rotation of the brush – useful for rectangular or user brushes. |
Brush Shape and Type |

|
|
Surface Layer List |

|
|
Basic Painting |
||
Extra Surface Layer Operations |

|
All surface masks are in a .png format and for the best results a predetermined sizing should be followed – this information can be found in the Info & Diags tab (section below). |

Holes
Holes are a way to hide the terrain. One can create a hole or disable a block for that.
Options
Show terrain in holes and disabled blocks
If ticked, the terrain in holes and disabled blocks will appear.
Show holes diag
Highlight the holes.
Show disabled blocks diag
Highlight the disabled blocks.
Info & Diags
This tab contains useful info about blocks and their surface layers. These diagnostics also allow either manual merging or replacing of surface layers in specific blocks.
| Step | Screenshot | Description |
|---|---|---|
Block and Pixel Under Cursor Diagnostics |
Block
Pixel Under Cursor
| |
Basic Surface Diagnostics |

|
|
Surface Layer Merge or Replace Operations |
|