Terrain Tutorial – Arma 2
Jump to navigation
Jump to search
| Line 24: | Line 24: | ||
==== Preparing your Project Foldier ==== | |||
==== Setup Visitor 3 ==== | ==== Setup Visitor 3 ==== | ||
Revision as of 21:47, 30 August 2009
Introduction
This simple tutorial will explain the basic process of creating a Island in ArmA2.
What the tutorial will deal with:
- Setting up Visitor and the working directory / Project folder (namespace).
- Importing Landscape, Satellite Texture, and Objects.
- Binarizing your world properly.
- Proper Samplemap to work with.
Setup Editing Tools 2
- It´s pretty important to choose a proper place to install the BI Editing tools 2 before starting with anythings else (a clean empty partition is highly recommended).
- In this tutorial we will use Partition O:\
- 1: Download the BI Editing Tools 2
- 2: Create a foldier called BIS TOOLS 2 in your designated Partition (O:\BIS TOOLS 2\ in our example)
- 3: Open or extract the dowloaded zip file and start the BI_Editing_Tools_2_Setup.exe
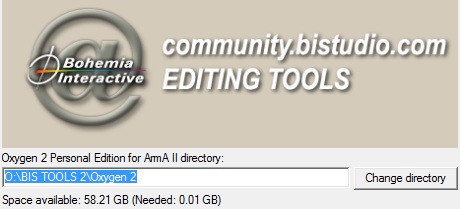
- 4: The installer is basically self explanatory, the actual important process is to change the directory for each tool.

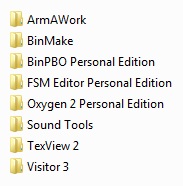
- Make sure to define the respective path for each tool (e.g.: O:\BIS TOOLS 2\Oxygen 2, O:\BIS TOOLS 2\Visitor 3 .....and so on).
- 5: All tools should be installed now in respective directory (O:\BIS TOOLS\). Every Tool is stored in its own folder.
Preparing your Project Foldier
Setup Visitor 3
- Starte die O:\BI TOOLS 2\Visitor 3\Visitor3.exe
- Beim ersten start von Visitor muss man die Lizenz aktzeptieren bevor mann die Software voll nuzen kann
