MP Warlords – Arma 3
Jump to navigation
Jump to search
This page will provide you with information required to set up your own Warlords scenario.
No edit summary |
No edit summary |
||
| Line 2: | Line 2: | ||
{{GVI|a3|1.86|category}}<br><br> | {{GVI|a3|1.86|category}}<br><br> | ||
<center>'''This page will provide you with information required to set up your own Warlords scenario.'''</center> | |||
<br> | <br> | ||
== Eden editor == | == Eden editor == | ||
Revision as of 15:29, 8 November 2018
-wrong parameter ("a3") defined!-[[:Category:Introduced with a3 version 1.86|1.86]]
Eden editor
Here you will find the summary of work that needs to be done in the scenario editor.
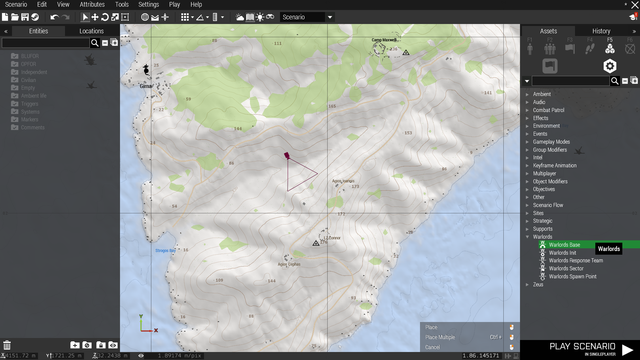
1. Place Warlords modules
- All Warlords modules can be found under Systems > Warlords.
- Place the Warlords Init module anywhere on the map (its position is irrelevant).
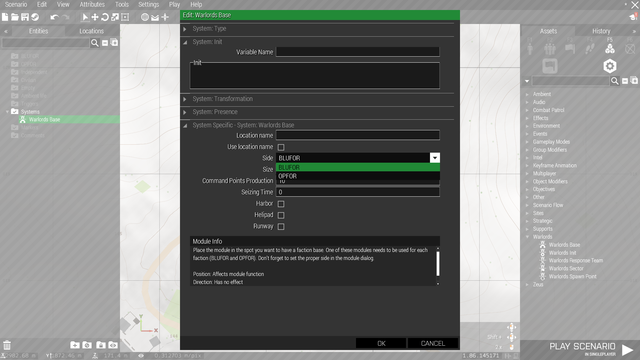
- Feel free to tweak the settings in the module window (you open this window by double clicking on a placed module icon). Check the tooltips for each parameter.
- Place two Warlords Base modules (one for each faction) on the locations you want to have the starting faction bases.
- Don't forget to properly set up the side parameter in the module window!
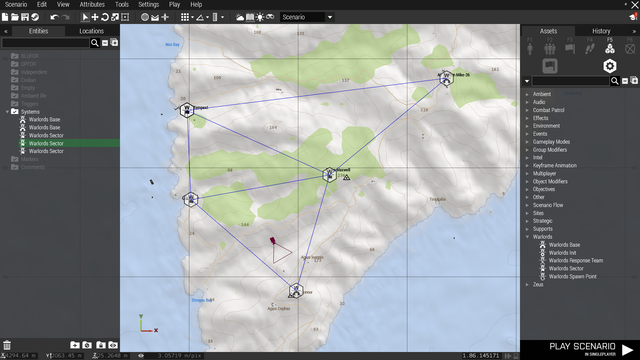
- Place Warlords Sector modules on desired sector locations.
- You can change various parameters for individual sectors and bases in their module windows.
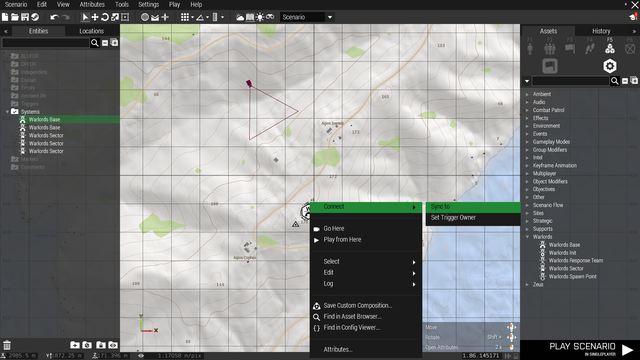
- Connect the bases and the sectors by right clicking on any of them, selecting "Connect > Sync to" and left clicking on the sector or base you want to connect.
- Repeat this for other sectors until you've got all the sectors and bases linked in a reasonable way.
- Feel free to experiment with the other Warlords modules as well, you will find details on how to use them in their module windows.
2. Place playable units
- You should place the playable units inside their respective faction bases.
- The type or number of playable units is up to you.
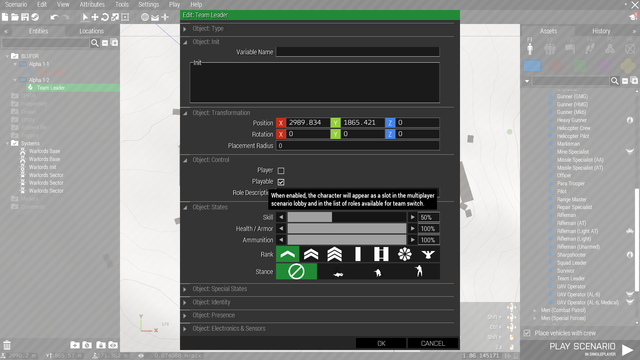
- Make sure all of them are set as Player or Playable.
- Make sure that all playable units are in separate groups.
3. Set up multiplayer rules
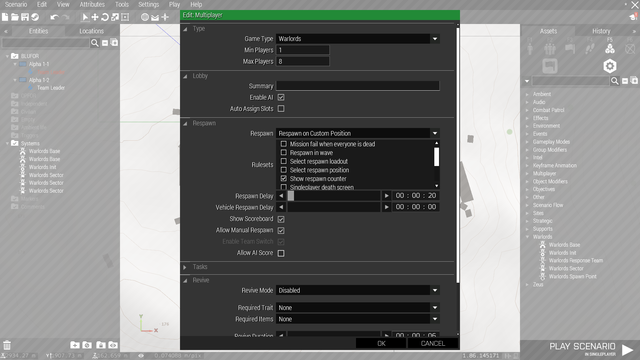
- You will find these settings under Attributes > Multiplayer... in the toolbar at the top of the screen.
- You can set most of these to your liking, however there is one attribute that needs to be set up specifically in order wor the mode to work properly:
- Respawn has to be set to Respawn on Custom Position
- Respawn delay is up to you, the default used in all official missions is 20 seconds.
4. Done!
Congratulations, your scenario is ready! These were all steps required to have a fully working Warlords mission. Following are some more in-depth customization options.
Additional options
Here you will learn how to enable Warlords parameters in teh multiplayer lobby, and how to use your custom assets in the in-game Request menu.
1. Parameters
- If you enable these Parameters in your scenario, players will be able to tweak and override the scenario rules set up in the Init module.
- Save your scenario via Scenario > Save As... from the toolbar at the top of the screen.
- Name the scenario, select the MPMissions folder and hit Save.
- Switch to your desktop and open your scenario folder. You can find it in Documents\Arma 3\MPMissions\ (you should see a file called mission.sqm here).
- Inside this folder, create a file called description.ext.
- Copypaste this line into the file and save it:
#include "\A3\Missions_F_Warlords\cfgMissionParams.inc"
- Next time you start your scenario in multiplayer, you should see a button labelled Paramters in the lobby.
- Here you will be able to set up Warlords rules to your liking.
