Action Context Setup – Arma Reforger
Lou Montana (talk | contribs) m (Remove after class' semicolons) |
Lou Montana (talk | contribs) m (Text replacement - "ized" to "ised") |
||
| Line 5: | Line 5: | ||
{{Feature|important| | {{Feature|important| | ||
* For user actions to be properly | * For user actions to be properly synchronised and work as intended, the entity requires a '''RplComponent'''. | ||
* ActionsManagerComponent is not the same thing as ActionManager. The former manages user actions, the latter input actions! | * ActionsManagerComponent is not the same thing as ActionManager. The former manages user actions, the latter input actions! | ||
* To be able to interact with the entity properly, such entity must have valid physical representation.<!-- | * To be able to interact with the entity properly, such entity must have valid physical representation.<!-- | ||
Latest revision as of 21:07, 24 May 2024
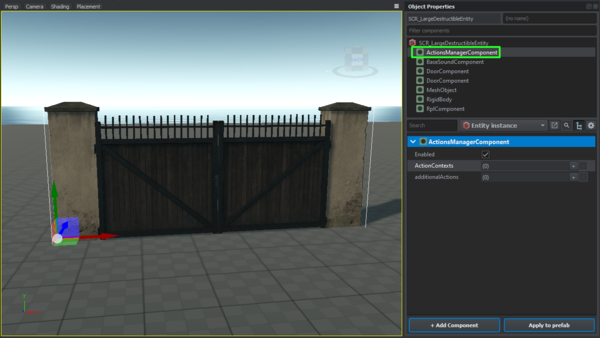
Select Entity
Select the entity you want to add contexts and actions into. Select the "ActionsManagerComponent" or add one if it doesn't exist.
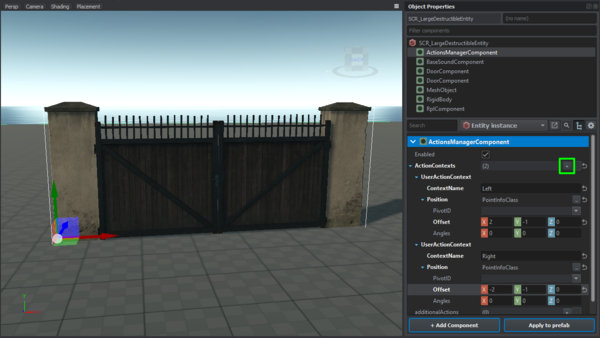
Define Context
Fill the Action Contexts array with your contexts for this entity. The context name is a unique identifier used to register child actions. Do not forget to fill the Position field with valid PointInfo or derived class instance. The component UIInfo is required too.
Add Action Location
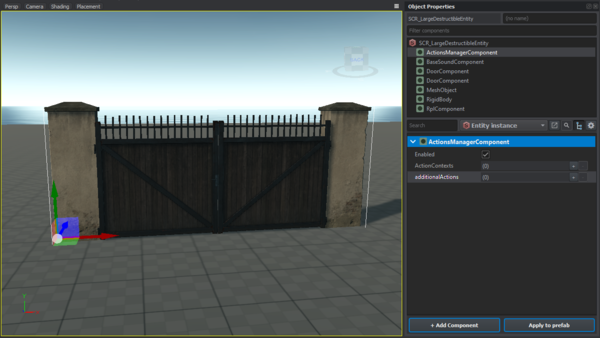
General Action
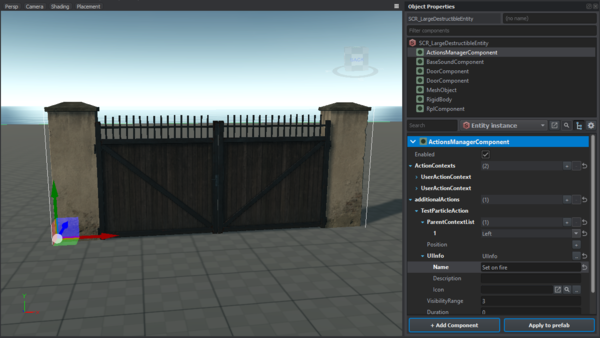
For general actions use the Additional Actions field in the ActionsManagerComponent.
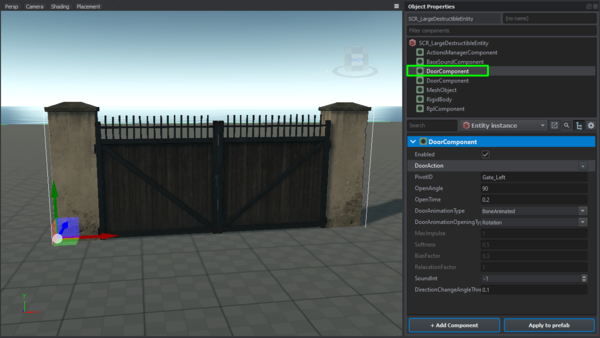
Contextual Action
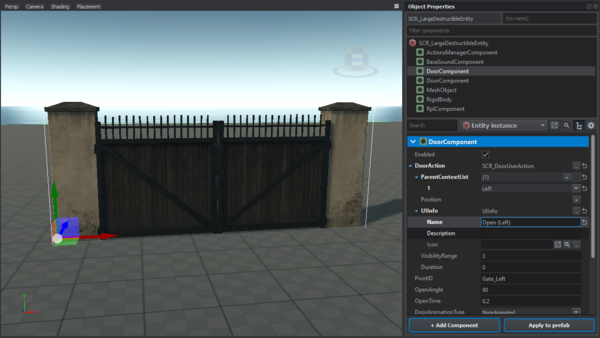
For actions provided by a component (compartments - GetInAction, doors - DoorAction) find the proper component. In this case it will be one of this entity's DoorComponent.
Add Action
General Action
For general actions add the action straight into the "Additional Actions" field in the ActionsManagerComponent. To set a parent context for our new action add an entry to the "Parent Context List" field of the action. As the value choose one of the context names you specified in the "Action Contexts" field in the "ActionsManagerComponent". Don't forget to add UIInfo and fill it with desired data. If an action should be visible in multiple contexts, add that unique identifier (target context's Context Name) to the "Parent Context List" too.
Contextual Action
For actions provided by a component add the action to a slot provided by the component. In this case the field "DoorAction" provided by the "DoorComponent". To set a parent context for our new action add an entry to the "Parent Context List" field of the action. As the value choose one of the context names you specified in the "Action Contexts" field in the "ActionsManagerComponent". Don't forget to add UIInfo and fill it with desired data. If an action should be visible in multiple contexts, add that unique identifier (target context's Context Name) to the "Parent Context List" too.
Add Parameters
Example
Walkthrough
Script Setup
- Create this directory: Scripts
/Game /generated /UserAction /Modded - In it, create TAG_MyScriptedUserAction.c
- Inside this file put this: class TAG_MyScriptedUserAction : ScriptedUserAction { //------------------------------------------------------------------------------------------------ override void PerformAction(IEntity pOwnerEntity, IEntity pUserEntity) { Print("MyScriptedUserAction.PerformAction() method reached", LogLevel.NORMAL); SCR_HintManagerComponent.GetInstance().ShowCustomHint("My test ground world - DONE", "TEST GROUND", 3.0); } //------------------------------------------------------------------------------------------------ override bool CanBeShownScript(IEntity user) { return true; } //------------------------------------------------------------------------------------------------ override bool CanBePerformedScript(IEntity user) { return true; } //------------------------------------------------------------------------------------------------ override bool HasLocalEffectOnlyScript() { return true; } }
World/Entity Setup
- If not present, add an ActionsManagerComponent (read wiky for minimum components present in order to work)
- Add one Action Context
- In it:
- input some Context Name (myContext)
- set Position to PointInfo and move up the Y offset (you will se the point moving in the world editor)
- Add one Additional Actions selecting your class inside TAG_MyScriptedUserAction.c, in this example TAG_MyScriptedUserAction
- In Additional Actions
/TAG_MyScriptedUserAction: - add one parent context list and select the Context Name created before (myContext)
- add UiInfo and input some Name to be shown
- set visibility range to some value, e.g 2
- set duration to some value, e.g 2
- ????
- Profit!
