Project Directory: Migration – Arma 3
This only applies if you are currently using the install directory of Arma 3 Tools as the source for your P drive. Otherwise, there is no need to perform these operations.
Since the update 0.984, unlike the previous behavior (using the install directory of the tools), if no custom directory is defined, a default one will be used in the document folder of the current user (...\Documents\Arma 3 Projects). This is done in order to avoid any potential conflict with the updates of the tools.
Prepare the new destination folder
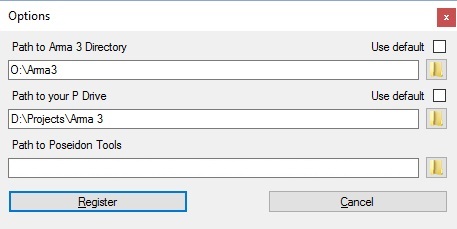
If you don't want to use the default directory, you need to find a suitable place and if needed, create the final directory. Once created, from the Arma 3: Tools Launcher, navigate to Preferences, Settings (CTRL+E), Un-check "Use default" and click on the folder icon to select where you want to setup your project drive and set your custom path. Work Drive will use this path to perform operations such as the install of Buldozer or the extraction of the game data.
Prepare the sources
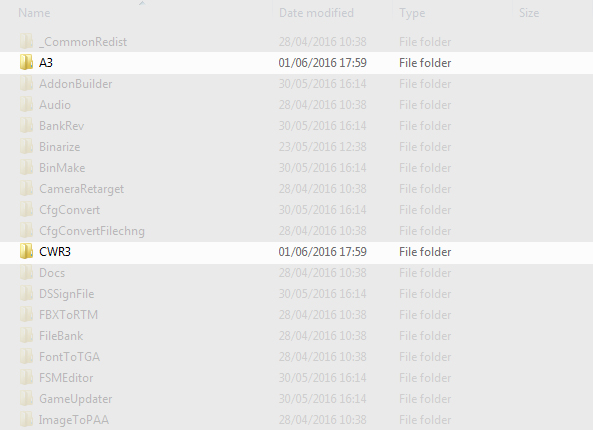
You first need to identify which directories and/or files belong to your project. It is consist on the folders/files you had created earlier and are usually have the same name as the root of your project prefix. Some of you may have additional directory such as sources, temp etc...
In the following picture, A3 and CWR3 are the project folders.
Let's move...
This step is simple but must be executed carefully. It is recommended to copy the directories and past them to the new project directory. From here, test that everything is working, if not, go back onto the preparation phase, you may have missed something. Once you are absolutely sure that everything is in the same state as it was, you may proceed to the deletion of the original directories from the install directory of the tools.

