Characters Firegeometry Update – Arma 3
No edit summary |
Lou Montana (talk | contribs) m (Text replacement - "{{Feature|Warning|" to "{{Feature|warning|") |
||
| (6 intermediate revisions by 3 users not shown) | |||
| Line 1: | Line 1: | ||
{{TOC|side}} | {{TOC|side}} | ||
{{GVI|arma3|1.98|y}}<br> | |||
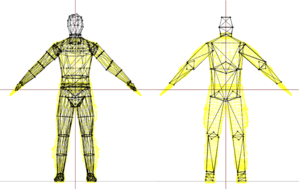
With this update, characters received updated fire geometries that aim to improve hit detection. To make the transition from old geometries to the new ones easier, an ''o2script'' was created (bundled with Arma 3 Tools), which allows for a quick update of any character p3d files. | |||
[[File:Firegeometry comparision.png]] | [[File:Firegeometry comparision.png|thumb|Left (new) Right (old)|left]]<br clear="all"> | ||
* | == Requirements == | ||
* [[:Category:Arma 3: Official Tools|Arma 3 Tools]] installed | |||
== Usage == | |||
1. Navigate to '''Arma 3 Tools''' instalation directory and then go to '''ObjectBuilder\O2Scripts\CharacterFG''' folder | |||
2. Find following batch file to perform drag & drop operations | |||
* '''addNewCharacterFG.bat''' | |||
* ''' | |||
=== Using drag and drop variant === | === Using drag and drop variant === | ||
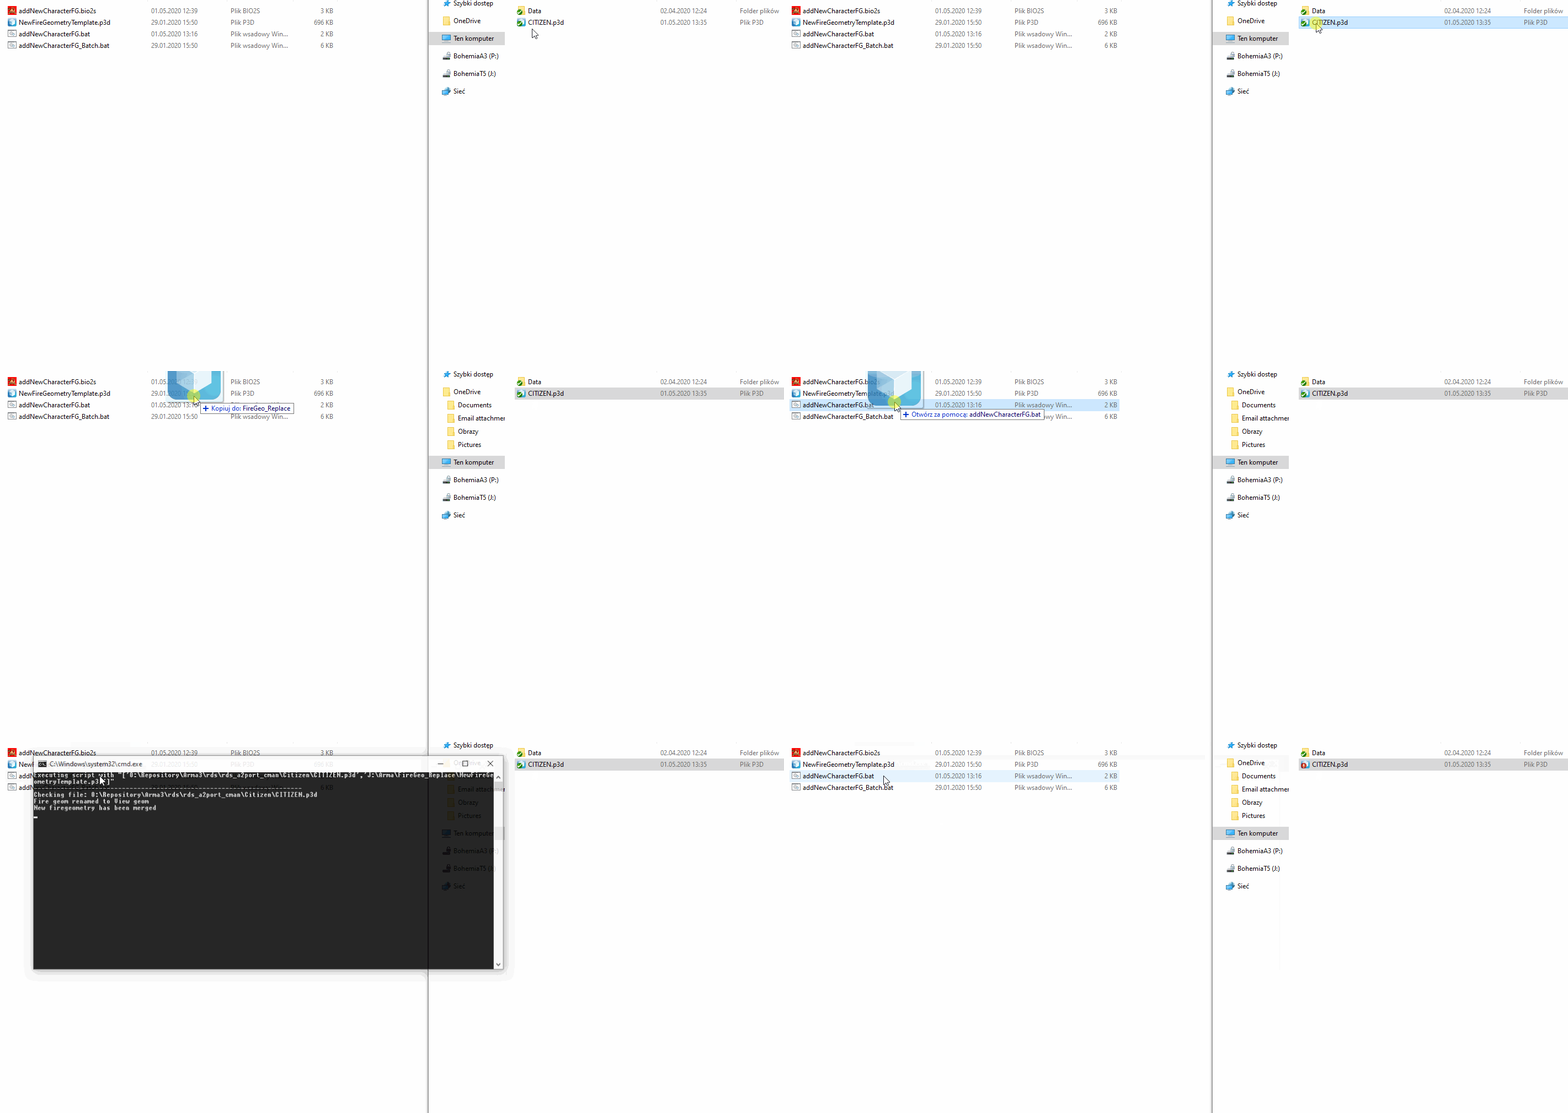
Using drag & drop variant is quite easy. You can drag single files, multiple files or whole folders. | Using drag & drop variant is quite easy. You can drag single files, multiple files or whole folders. | ||
{{Feature|warning|If you drag a folder onto the batch files, make sure only .p3d files are contained in that folder that you want to update. '''Be careful to not overwrite the fire geometry of the wrong p3d files.}} | |||
If '''addNewCharacterFG.bio2s''' script is missing in "'''ObjectBuilder\O2Scripts'''" folder, script will try to copy paste it to that location. | If '''addNewCharacterFG.bio2s''' script is missing in "'''ObjectBuilder\O2Scripts'''" folder, script will try to copy paste it to that location. | ||
Finally, batch file will run that new o2script and process the p3d: | Finally, batch file will run that new o2script and process the p3d: | ||
* Script will try to verify if there is already existing '''Fire Geometry''' | * Script will try to verify if there is already existing '''Fire Geometry''' | ||
* If fire geometry is missing, script will exit! | * If fire geometry is missing, script will exit! | ||
| Line 36: | Line 31: | ||
[[File:Drag & Drop.gif]] | [[File:Drag & Drop.gif]] | ||
{{GameCategory|arma3|Editing}} | |||
{{GameCategory|arma3|Tutorials}} | |||
{| | [[Category:Introduced with Arma 3 version 1.98]] | ||
| | |||
|} | |||
[[Category:Arma 3 | |||
Latest revision as of 00:25, 2 February 2024
![]() 1.98
1.98
With this update, characters received updated fire geometries that aim to improve hit detection. To make the transition from old geometries to the new ones easier, an o2script was created (bundled with Arma 3 Tools), which allows for a quick update of any character p3d files.
Requirements
- Arma 3 Tools installed
Usage
1. Navigate to Arma 3 Tools instalation directory and then go to ObjectBuilder\O2Scripts\CharacterFG folder
2. Find following batch file to perform drag & drop operations
- addNewCharacterFG.bat
Using drag and drop variant
Using drag & drop variant is quite easy. You can drag single files, multiple files or whole folders.
If addNewCharacterFG.bio2s script is missing in "ObjectBuilder\O2Scripts" folder, script will try to copy paste it to that location.
Finally, batch file will run that new o2script and process the p3d:
- Script will try to verify if there is already existing Fire Geometry
- If fire geometry is missing, script will exit!
- Otherwise, old Fire Geometry will be replaced by new, empty LOD
- In next step, new Fire Geometry will be merged from NewFireGeometryTemplate.p3d
- If everything succeed, file will be saved with all above modifications


