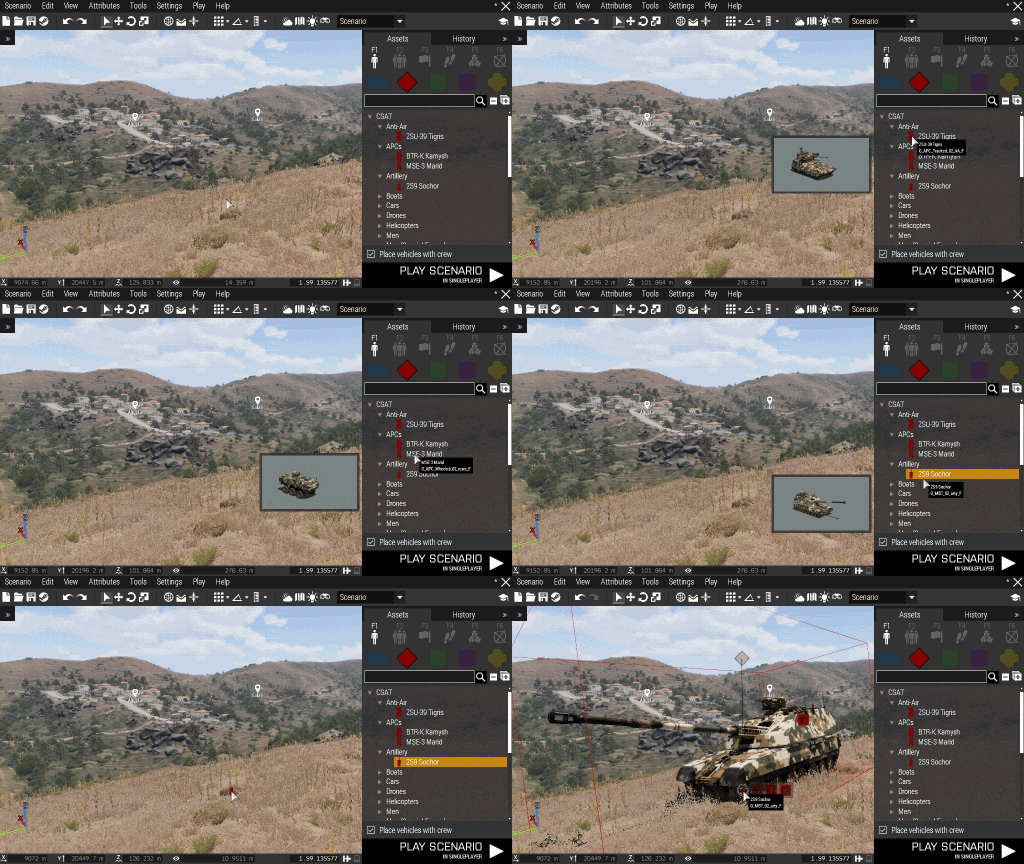
Eden Editor: Configuring Asset Previews: Difference between revisions
Jump to navigation
Jump to search
(added arma3diag link) |
mNo edit summary |
||
| Line 1: | Line 1: | ||
{{Important|This guide is work in progress and steps described here will not work yet!}} | {{Important|This guide is work in progress and steps described here will not work yet!}} | ||
[[File:3den_editorPreview.gif|center]] | |||
=== Picture Production === | === Picture Production === | ||
Revision as of 09:53, 15 April 2016
Picture Production
- Run arma3diag.exe
- Set the following video settings
- 16:9 aspect ratio
- Object, texture and shadow quality to at least Very High
- FSAA at 8x
- PPAA disabled (brightens the image too much)
- Bloom disabled
- Open Eden Editor on VR terrain
- Run the BIS_fnc_exportEditorPreviews function to capture images. Code examples:
// All objects
0 = [] spawn BIS_fnc_exportEditorPreviews;

// All characters and vehicles. Capturing delay will be 0.5 seconds
0 = [0.5,"vehicles"] spawn BIS_fnc_exportEditorPreviews;

// BLUFOR characters and vehicles
0 = [nil,"vehicles",[west]] spawn BIS_fnc_exportEditorPreviews;

// Props in Karts DLC
0 = [nil,"props",[],["kart"]] spawn BIS_fnc_exportEditorPreviews;

// All objects in specified addons
0 = [nil,"all",[],[],["A3_Armor_F_Slammer","A3_Air_F_Heli_Heli_Transport_03"]] spawn BIS_fnc_exportEditorPreviews;

// BLUFOR vehicles in Marksmen DLC
0 = [nil,"vehicles",[west],["mark"]] spawn BIS_fnc_exportEditorPreviews;
- The function will go through given objects and automatically create screenshots for them in editorPreviewsfolder or in one of the mod subfolders. This operation can take several minutes.
- Resize all images to 455x256 and save them in JPG format.
- Move pictures to your addon.
- Add editorPreview config property to all your objects. Let it point to a picture which belongs to the object.
class CfgVehicles
{
	class MyObject
	{
		editorPreview = "\A3\EditorPreviews_F\Data\myObject.jpg";
	};
};
- Pack your addon. Don't forget to set JPG files to be packed as well.
