MP End Game – Arma 3
-wrong parameter ("a3") defined!-[[:Category:Introduced with a3 version 1.42|1.42]]
End Game - Scenario Guideline
DISCLAIMER
Here you can find information on how to create your own End Game scenarios. Be introduced introduced to the individual system components, how they work together, and finally learn how to set up the End Game scenario.
LIMITATIONS
The current issues and limitations are:
- West vs East vs Resistance
- Currently, the only supported playable sides are west (BLUFOR) and east (OPFOR), and the common enemy is resistance (Independent), which is AI controlled.
- The plan is to re-factor the related code to support all kinds of side combinations.
TEMPLATE DOWNLOAD
https://www.dropbox.com/s/bm0b983aoatucma/EndGame.VR.7z?dl=0
How to access modules and logics
Modules
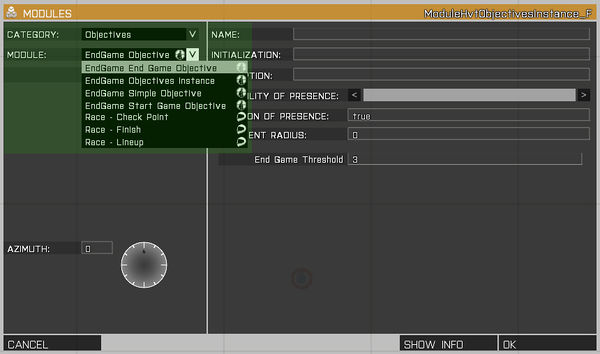
When inside the Editor, navigate to Modules (F7) and double click on the map. The modules selection window will appear.
Set the Category to Objectives, and here you can see all End Game Modules listed.
Logics
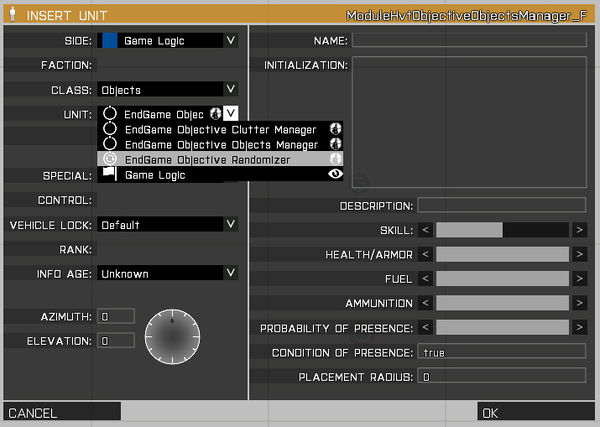
When inside the Editor, navigate to Units (F1) and double click on the map. The unit selection window will appear.
Set the side to Game Logic (note this is only possible after placing a player unit) and the class to Objects. Here you will find End Game specific Game Logics.
Objectives Instance
Objectives Instance
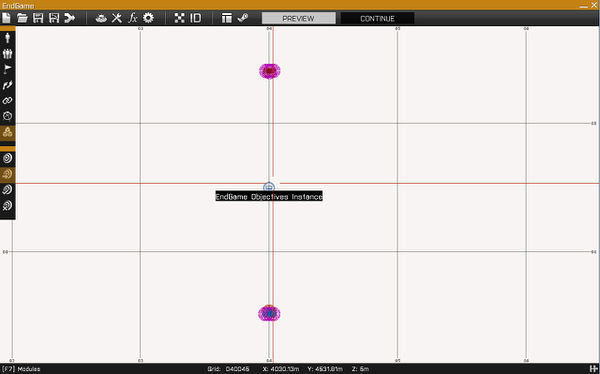
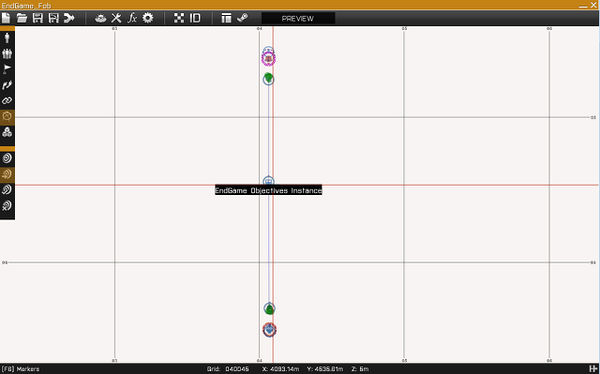
The End Game Objectives Instance is what controls the flow of the whole End Game scenario. It decides when and which objectives should be visible and handles changes in their state.
The Objectives Instance is also responsible for the stage progression / selection, and only one instance may be placed per scenario, otherwise an error will be triggered.
Objective Types
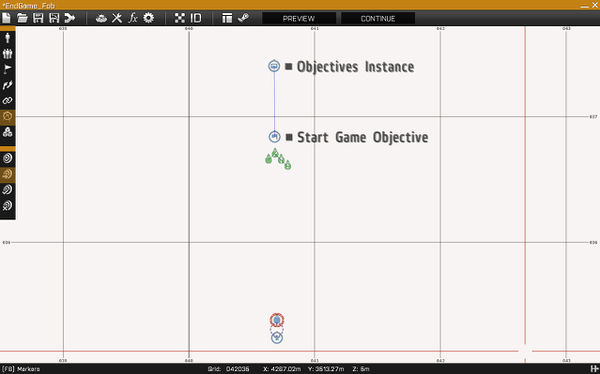
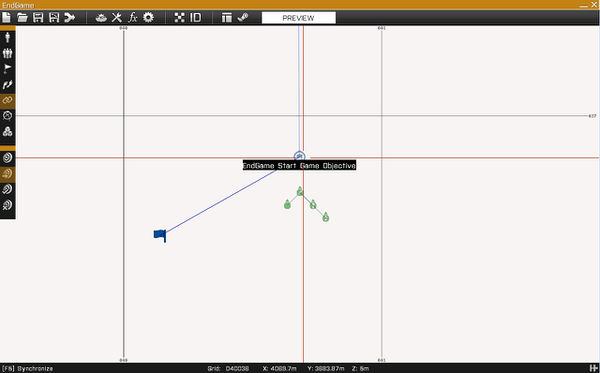
Start Game Objective
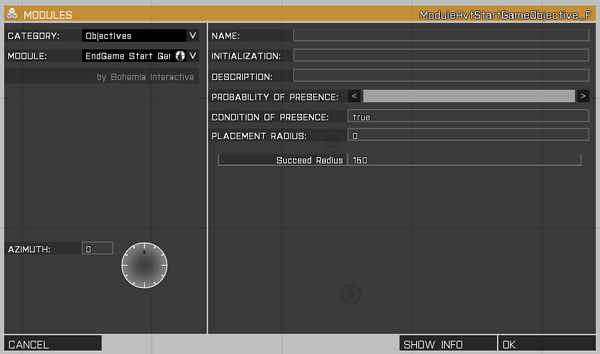
The Start Game Objective handles the initial phase of the End Game by requiring players to Establish FOB.
The succeed radius tells the objective the distance from its location that no enemy is within, so the objective can succeed. So, when attacking the enemy location to establish the FOB, players are required to eliminate all the enemies within the given radius.
Middle Game Objective
The Middle Game Objective is part of the second phase of End Game and requires players to move to a location and download Intel from an electronic device.
End Game Objective
The End Game Objective handles the last phase of End Game by requiring players to pick up important schematics from a location and upload them to their HQ.
The team which is able to complete the upload will win the match.
Game Logic Types
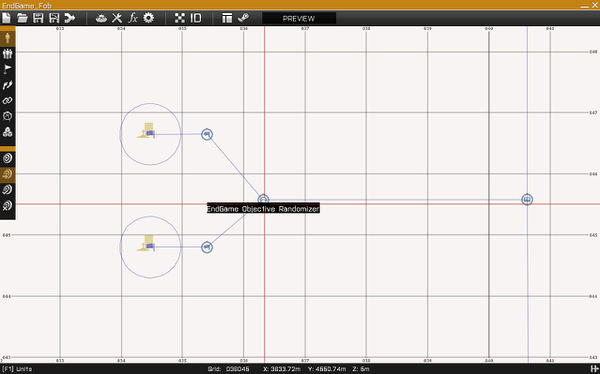
Objective Randomizer
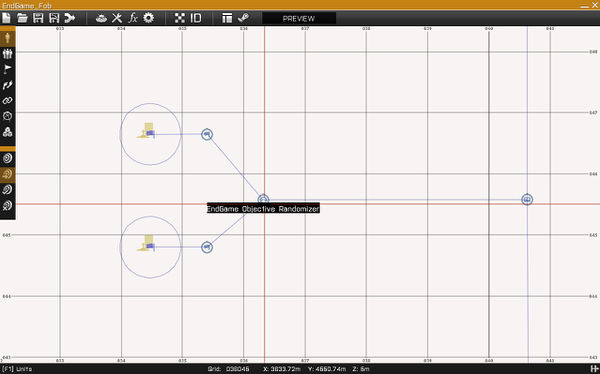
The Randomizer Game Logic allows for objective randomization. If two or more objectives are synced to a Randomizer that in turn is synced with the End Game Objectives Instance module, one of those objectives will be selected at random on mission start.
The objectives that are not selected, are cleared and all related objects are deleted.
In the example on the right, both Objective 1 and Objective 2 have a 50% chance to be selected. The one which is not selected at mission start, will be deleted along with its related objects.
Scenario Configuration
Intel
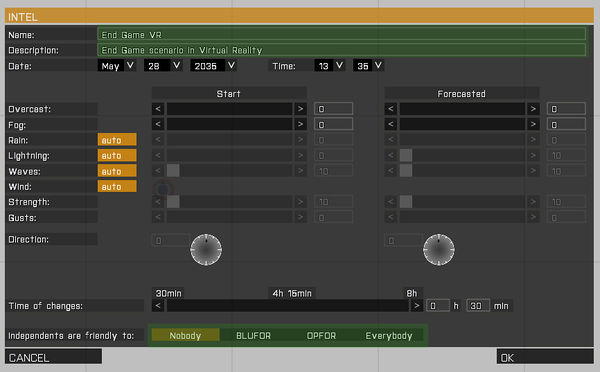
When inside the Editor, enter the Intel properties. Here you are able to set mission parameters such as the mission Name, mission Description, the initial Time of Day and Weather.
Add a mission name and description. Also, make sure Independent is friendly to Nobody. This will make the Independent side the common enemy for players.
Revive and Respawn
End Game was made with group respawn in mind, and although you are free to try different respawn types, the following configuration is the suggested one. You will need to add a few lines to your description.ext.
Description.ext
respawn = 3;
respawnDelay = 30;
respawnVehicleDelay = 0;
respawnTemplates[] = {"Revive", "MenuPosition"}; // Enable Revive and Respawn Menu
respawnOnStart = -1;
respawnDialog = 1;
disabledAI = 1;
To enable the Shared Objectives you'll need to add a few lines to your description.ext.
Description.ext
taskManagement_markers2D = 1; //0: do not use new 2D markers (default), 1: replace task markers with new 2D markers
taskManagement_markers3D = 1; //0: do not use new 3D markers (default), 1: replace task waypoints with new 3D markers
taskManagement_propagate = 1; //0: do not propagate (default), 1: propagate shared tasks to subordinates
taskManagement_drawDist  = 2500; //3D marker draw distance (default: 2000)
Garbage Manager
In order to keep the game from slowing down because of dozens of destroyed vehicles and hundreds of bodies, you may enable and configure the Garbage Manager within your description.ext.
Description.ext
corpseManagerMode = 1; //Type of removed bodies: 0 - none, 1 - all, 2 - only respawnable, 3 - only non-respawnable
corpseLimit = 10; //Max number of bodies which can be available at the same time. When exceeded, start deleting immediately.
corpseRemovalMinTime = 120; //Minimal time in seconds a body stays in the scene (can't be removed sooner).
corpseRemovalMaxTime = 240; //Maximal time in seconds after which a dead body is removed (can't stay longer)

wreckManagerMode = 1; //Type of removed wrecks: 0 - none, 1 - all, 2 - only respawnable, 3 - only non-respawnable
wreckLimit = 5; //Max number of wrecks which can be available at the same time. When exceeded, start deleting immediately.
wreckRemovalMinTime = 120; //Minimal time in seconds a wreck stays in the scene (can't be removed sooner).
wreckRemovalMaxTime = 240; //Maximal time in seconds after which a wreck is removed (can't stay longer)
Header and Missions Parameters
To wrap up the description.ext configuration, you may set a few parameters such as scenario author, how many players the scenario supports, and even what parameters will be available in the lobby.
Description.ext
author = "Author";
onLoadName = "On Load Name";
briefingName = "Briefing Name";
onLoadMission = "On Load Mission";
overviewText = "Overview Text";
overviewPicture = "\a3\Missions_F_MP_Mark\Data\Marksmen_scenario01_overview_CA.paa";
class Header
{
gameType = CTF;
minPlayers = 1;
maxPlayers = 16;
};
class Params
{
#define DAYTIMEHOUR_DEFAULT 12
#define WEATHER_DEFAULT  25
#define DEBUGCONSOLE_DEFAULT   0

#define TIMEACCELERATION_DEFAULT  10
#include "\a3\functions_f\Params\paramDaytimeHour.hpp"
#include "\a3\functions_f\Params\paramWeather.hpp"
#include "\a3\functions_f\Params\paramDebugConsole.hpp"

#include "\a3\Functions_F_MP_Mark\Params\paramTimeAcceleration.hpp"
};
Scenario Setup
Placing Player Slots
Place your playable units for both BLUFOR and OPFOR. Again, please note the current limitations, only BLUFOR and OPFOR can be player-controlled.
Respawn Markers
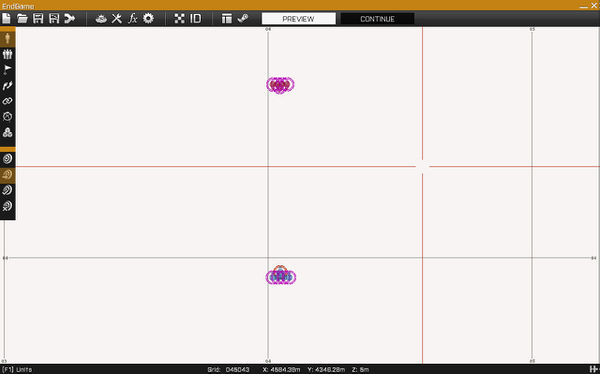
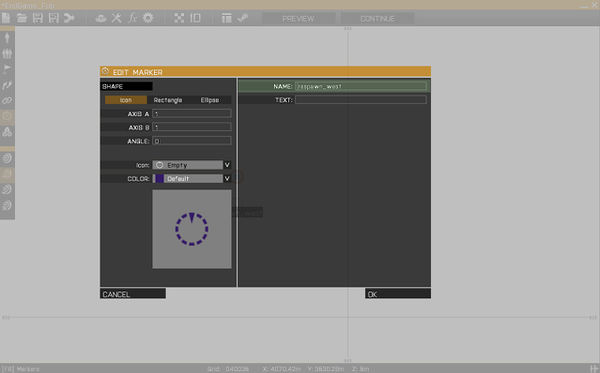
Place a Marker at the players' initial position that will assign the initial respawn position. Then make sure to call it respawn_west and respawn_east depending whether for WEST (BLUFOR) or EAST (OPFOR).
Headquarters Entity
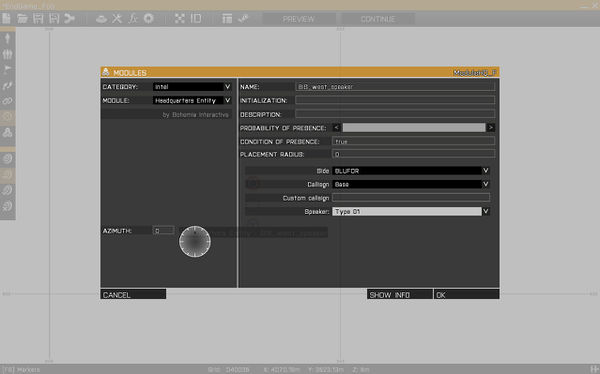
The Headquarters Entity serves as the speaker for the side. This entity is the HQ which gives players hints on how or what they have to do during the mission.
Make sure to place a Headquarters Entity by selecting Modules (F7) and navigating to the Intel category.
Also, make sure to name this module. Its name will be used later so we can reference this entity. For the west entity name it BIS_west_speaker and for the east entity name it BIS_east_speaker. Make sure to set the correct side of the HQ entity within the module.
Objectives Instance
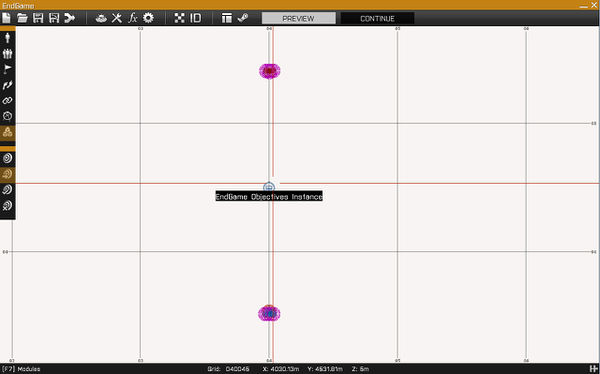
Select Modules (F7) and navigate to the Objectives category. Place the End Game Objectives Instance module. This will tell the game to initialize the End Game systems on mission start.
The module has one property, the End Game Threshold, which tells the system how many Intel packages a side must download for the last phase to start, during the middle game stage, or Stage 2.
End Game Threshold - The amount of retrieve intel tasks a side must complete in order to succeed the 2nd stage and move to the 3th and final stage.
Start Game Objectives
So now, let's place our our first objectives. These will be the Start Game Objective, and each playable side must have their own unique one.
So select Modules (F7) and double click on the map. After the modules selection window appears, navigate to the Objectives category and, for each side, place a EndGame Start Game Objective where you want the side to Establish their FOB. Within the module itself, you can set the side which will be tasked with this objective.
Do not forget to add one for each of the playable sides.
Attacking Side - The side which will be tasked to this objective
Succeed Radius - The radius in which at least one player of the side doing this objective must be and the radius in which no enemy units can be
Restriction Radius - The radius in which players are confined until they complete this objective
Middle Game Objective
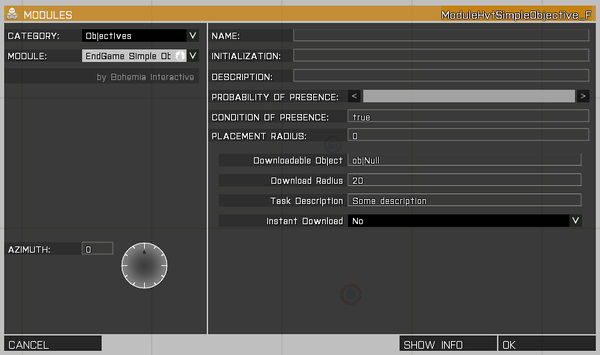
A Middle Game Objective (MGO) is what could be called a Retrieve Intel objective. These are the objectives which require players to move to their location and download some intel from the object connected to the objective module.
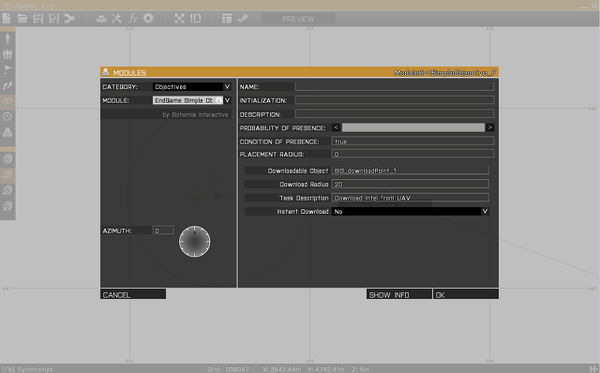
To place a Middle Game Objective select Modules (F7) and double click on the map. Once the modules window appears, navigate to the Objectives category and select the EndGame Simple Objective.
Each MGO requires an object which is used to download Intel from, for example a car, UAV or a computer.
Go ahead and place any object you would like, then name it, for example, BIS_downloadPoint_1 and put this exact name in the module's "Downloadable Object" field.
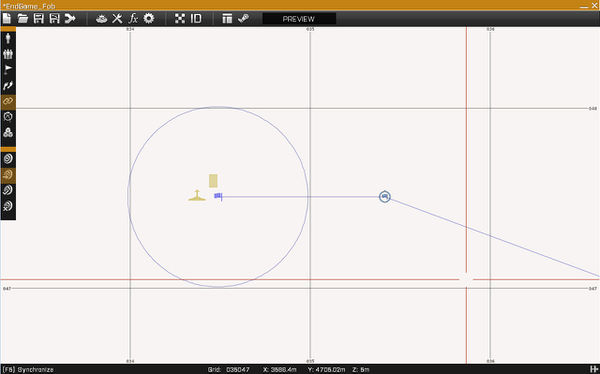
Any triggers connected to the module defines the mission objects' relation with the connected objective. For example, if you have a trigger connected to the module, any mission objects inside it will be set as owned by the objective and will be hidden / deleted when the object is.
Note that the object to be downloaded from will be indestructible until one of the competing sides downloads intel from it. It is also good practice to lock vehicles (if used as download object) so players can't board and drive it away.
Downloadable Object - The name of the object to use as download source
Download Radius - The radius in which download will be available (Non-Functional)
Task Description - The description of this objective, for example, "Download intel from UAV"
Instant Download - Whether the download should be instant, if so, download is succeeded after interaction with object
Randomizer Logic
Randomizer logics can be used to randomize Middle Game Objectives, so if more then one objective is connected to a randomizer, one at random will be selected at mission start. The objectives not selected will be deleted, along with their owned objects.
End Game Objective
The End Game Objective is the objective which handles the last phase of the game mode. It defines the possible pickup / upload locations and how long the match can take when in the last phase.
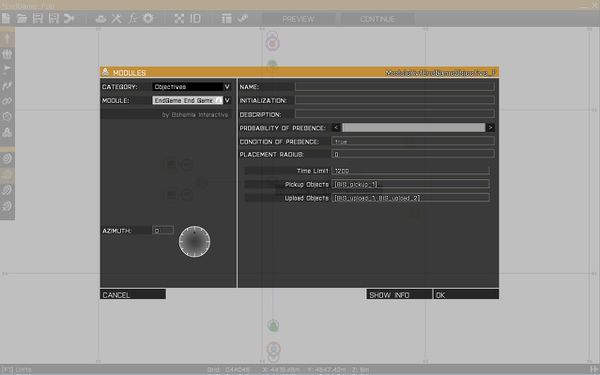
So start by selecting Modules (F7), navigate to the Objectives category and place a EndGame End Game Objective.
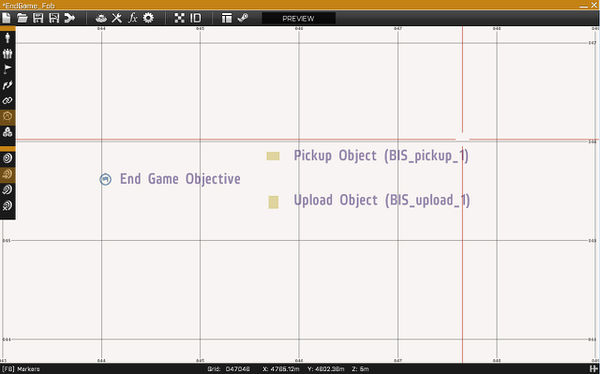
After placing our module, let's place one Pickup and at least two Upload objects. A pickup object is the object that is referred to as Schematics, and it's the object players need to pick up and use to upload the data. The upload objects are the objects used to upload the Schematics to HQ.
One Pickup object and at least two upload objects are needed, if more are provided, these will be randomized.
Time Limit - The time limit for the 3th phase, if time limit is reached before one of the sides winning, the mission will end as a draw
Pickup Objects - List of all available pickup objects
Upload Objects - List of all upload objects (At least 2 are required, one per side or more)
Note that the objects used as Schematics will be indestructible.
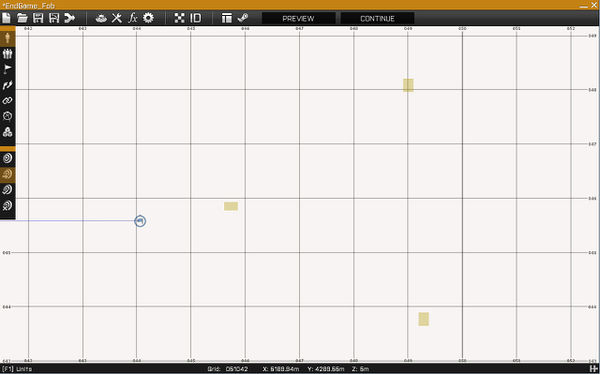
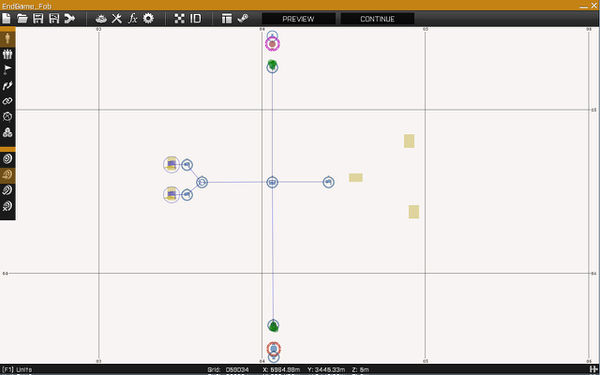
Resulting Layout
You should get something similar to the picture on the right.
Respawn Points
You can add positions which are turned into respawn points after an event. For example, a player of a side entering an objective area will unlock any respawn points available for that objective.
The system handles 3 kinds of respawn points:
- Respawn Point logic connected to the Start Game Objective
- It is unlocked when the owner side establishes their FOB.
- BLUFOR / OPFOR game logics connected to a Simple Objective
- These are unlocked when a player of a side enters an objective area.
- Respawn Point logic connected to an Upload object which is used by the End Game Objective
- It is unlocked when the last phase starts and serves as a position for the upload defenders to respawn at.
Where to find the logics?
- BLUFOR / OPFOR game logics can be found under Units (F1) > Game Logics > Sides.
- Respawn Point logics can be found under Units (F1) > Game Logics > Positions.
