Eden Editor: Introduction: Difference between revisions
mNo edit summary |
mNo edit summary |
||
| Line 124: | Line 124: | ||
== Placing New Entities == | == Placing New Entities == | ||
[[File:3den placing.jpg|480px|center]] | [[File:3den placing.jpg|480px|center]] | ||
Scenario consists of entities - characters, vehicles, props, waypoints, markers, etc. Before an entity is placed, it's available as an asset in the '''[[Eden Editor: Asset Browser|Asset Browser]]'''. | |||
Steps for placing an entity: | |||
# Select '''Asset Type''', for example an Object. | |||
# Select '''Asset Sub-type''', which further categorizes the type. For objects, these sub-types are sides to which the object can belong to (e.g., BLUFOR, OPFOR, Civilians, etc.) | |||
# Pick an object from the list (e.g., "Rifleman") by clicking on it with left mouse button. | |||
# Click left mouse button in the scene or on the map to place it. | |||
== Editing Entities == | == Editing Entities == | ||
Revision as of 15:36, 1 October 2015
Eden Editor is scenario editor introduced in Arma 3. It replaces previous 2D Editor, sharing many of its features, but add a wide range of new ones.
It's currently in beta, and you can find in in the dev-branch of the game.
Starting Eden Editor
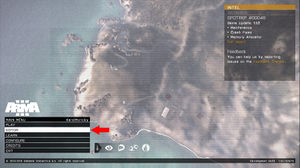
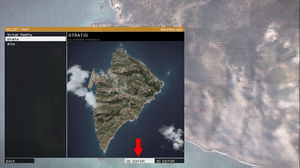
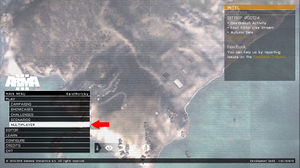
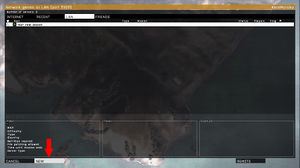
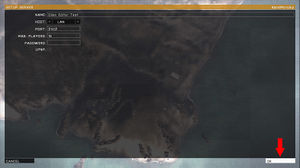
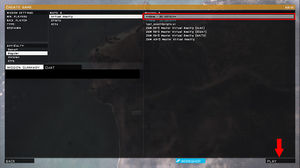
Eden Editor can be used for designing both singleplayer and multiplayer scenarios. A singleplayer scenario can be tested directly on your computer, but previewing a multiplayer one requires server running in the background. While it's possible to host a server and start multiplayer preview of any scenario straight from the editor, you can also create a server before launching the editor.
Singleplayer |
Mutliplayer
|
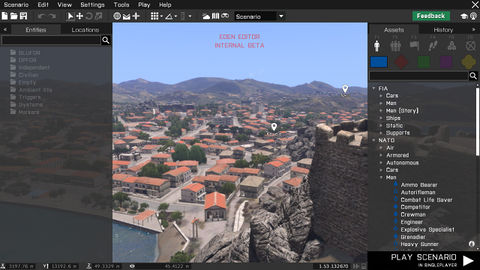
When the editor is opened, you'll be first greeted by a 3D Scene. The camera starts at randomized position, so you may sometimes discover completely unexpected locations.
The scene is useful for various scenario editing operations:
- Building object compositions
- Setting weather and time of day
- Tactical planning
The camera controls are based on character or vehicle controls in the game:
| Control | Action |
|---|---|
| RMB Drag | Look around with the camera |
| Mouse wheel up / down | Move the camera towards / away from the screen center |
| W | Move the camera forward |
| S | Move the camera backward |
| A | Move the camera left |
| D | Move the camera right |
| Q | Move the camera up |
| Z | Move the camera down |
| Numpad8 | Look up |
| Numpad2 | Look down |
| Numpad4 | Look left |
| Numpad6 | Look right |
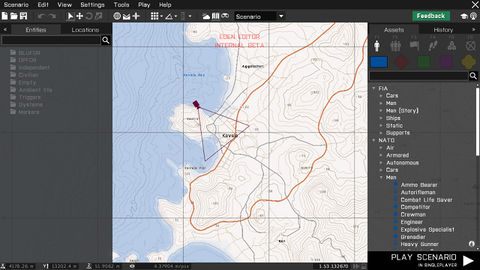
You can also toggle a 2D topographic Map. Its appearance is the same as the map available when playing, including markers and entity icons.
The map is especially useful for following scenario editing operations:
- Setting scenario logic, e.g., triggers, waypoints or systems, where clear overview is more important than precise positioning
- Placing markers
- Strategic planning
The controls are shared with map controls everywhere else in the game:
| Control | Action |
|---|---|
| RMB Drag | Move the map around |
| Mouse wheel up / down | Zoom the map in / out |
| W / Numpad 8 | Move the camera forward |
| S / Numpad 2 | Move the camera backward |
| A / Numpad 4 | Move the camera left |
| D / Numpad 6 | Move the camera right |
Creating a New Scenario
Scenario is a name for the project you'll be working on. It's set on a specific terrain, contains entities you'll place, has settings like weather or description, and is saved to a scenario folder where you can add external files.
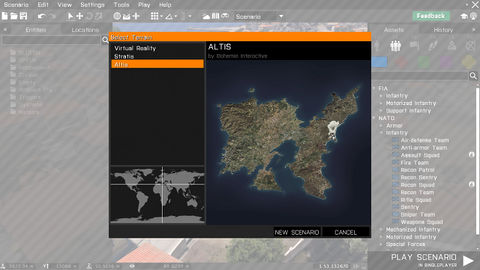
After opening the editor, you already start in a clean scenario. If you want to anytime start another one manually, select Scenario > New from the menu bar or click on New icon on the toolbar. Select a terrain here and confirm by clicking on the NEW SCENARIO button.
If you have unsaved changes in the current scenario, you will be prompted to either save or abandon them first.
Placing New Entities
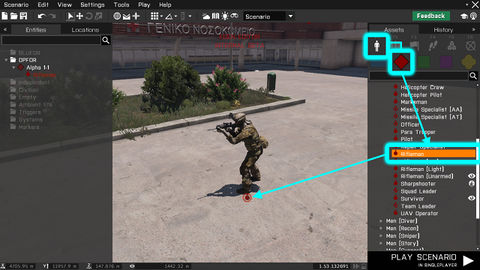
Scenario consists of entities - characters, vehicles, props, waypoints, markers, etc. Before an entity is placed, it's available as an asset in the Asset Browser.
Steps for placing an entity:
- Select Asset Type, for example an Object.
- Select Asset Sub-type, which further categorizes the type. For objects, these sub-types are sides to which the object can belong to (e.g., BLUFOR, OPFOR, Civilians, etc.)
- Pick an object from the list (e.g., "Rifleman") by clicking on it with left mouse button.
- Click left mouse button in the scene or on the map to place it.
