Mod Project Setup – Arma Reforger
Jump to navigation
Jump to search
Prerequisites
- Arma Reforger installed
- Workbench installed
Project Creation
- Start the Workbench either through Steam (Tools > Arma Reforger Tools > START) or by double-clicking ArmaReforgerWorkbench.exe located in the Workbench installation directory.
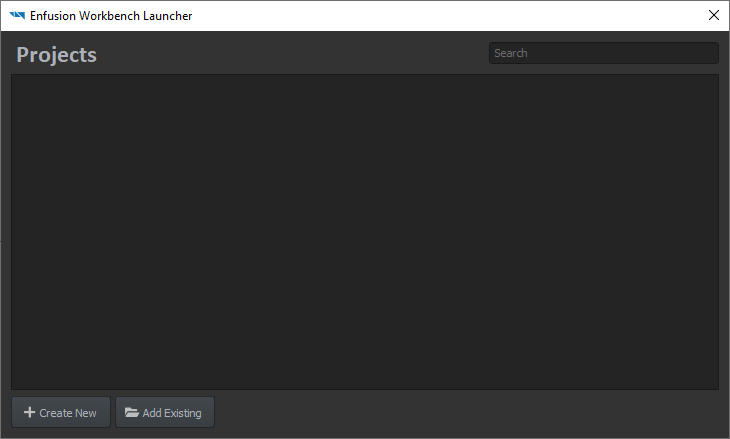
The following screen will appear: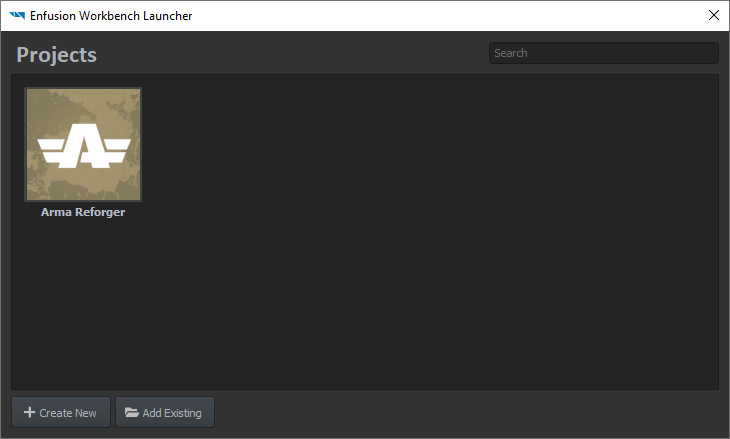
This interface displays existing projects known to Workbench and will later display the current creation; an existing project is openable by selecting it and clicking Open to edit it. - Click "Create New" to open the project creation interface
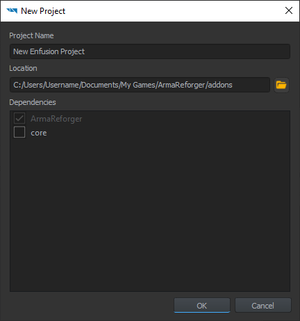
- Enter the project's name
- the project's name can only contain letters, numbers, spaces and the following symbols: - (dash) _ (underscore) and . (dot).
- Confirm or edit the project's location Be sure to pick a location where the current Windows user has write permissions (e.g C:\Users\Username\Documents - not C:\Program Files)
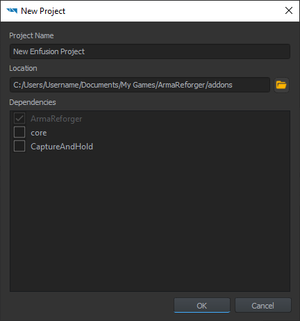
- Pick the project's dependencies:
- dependencies are other projects (and/or mods) on which the current project relies to work
- a project cannot be loaded if a dependency is missing
- the dependency link is one-way: a dependency does not need the current project in order to be loaded
- Arma Reforger is a default dependency: an Arma Reforger mod needs Arma Reforger data to run properly
- Click "OK" to create the project.
Et voilà ! The project is created and the Workbench is waiting for input.
Troubleshooting
Arma Reforger project is not found in the Projects window
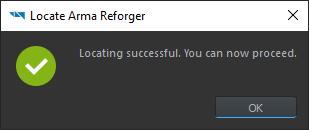
Clicking "Create New" will bring the following pop-up
Browse to ArmaReforger.gproj and select it - the Workbench will confirm the proper setup
Arma Reforger project is now listed in the Projects window.
