2D Editor: External: Difference between revisions
(→Folder Directory: Arma 3 folders) |
mNo edit summary |
||
| Line 15: | Line 15: | ||
=== Folder Directory === | === Folder Directory === | ||
You can find all missions in your [[Profile]] directory. | |||
Single player missions are located in ''Missions'' folder, multiplayer missions can be found in ''MPMissions'' folder in same directory. | |||
=== Subfolders === | === Subfolders === | ||
Revision as of 08:17, 22 June 2016
Mission Editor provides majority of tools required for designing a mission, but finishing touches are usually made outside of it. Briefings, custom scripts, multiplayer settings or final packing are only handled by separate files programs.
Mission Folder
Folder Name
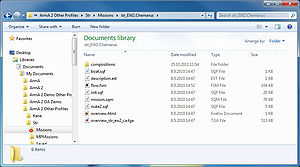
Missions are stored as folders with name composed of mission name set in Save window and world name:
<mission name>.<world Name>
Examples:
TopGun.abel
SpyGame.Chernarus
Domino.ProvingGrounds_PMC
World name matches the class in CfgWorlds
Folder Directory
You can find all missions in your Profile directory.
Single player missions are located in Missions folder, multiplayer missions can be found in MPMissions folder in same directory.
Subfolders
Within the mission folder, you can create as many subfolders as desired. As paths in mission are relative, you can refer to such subfolder using:
\subFolderName\desiredFile.sqf
Files
Mission.sqm
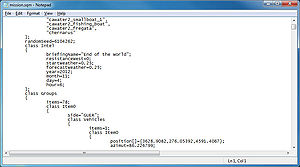
The mission.sqm file is generated automatically by the Mission Editor. Any action you perform in Mission, Intro, OutroWin or OutroLoose is saved in this file.
Once you have completed your new mission, it's always good practice to check the mission.sqm for presence of unwanted addons in addOns and addOnsAuto arrays. They contain CfgPatches classes of used addons.
class Mission
{
	addOns[]=
	{
		"missions_ew",
		"cacharacters2",
		"ca_modules_functions",
		"chernarus"
	};
	addOnsAuto[]=
	{
		"missions_ew",
		"cacharacters2",
		"ca_modules_functions",
		"chernarus"
	};
Apart from class Mission, list of addons is present also in class Intro, class OutroWin and class OutroLoose.
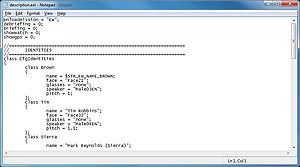
Description.ext
Main article: Description.ext
Scripts
Main article: Script (File)
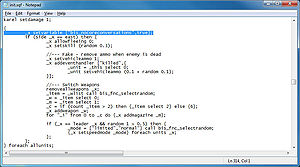
External script files are executed by filename, so they can have any filename the author chooses. There are however several special Event Scripts that are automatically executed by the game engine at certain times during the mission.
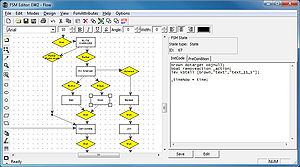
FSM
Main article: FSM
Briefing.html
Main article: Briefing.html
File loaded automatically when the mission begins, providing mission plan and notes.
The briefing is broken into 4 main sections:
- Notes
- Plan
- Objectives
- Endings
To preview your briefing whilst in the editor, hold SHIFT while clicking 'Preview'.
Since ArmA 2, briefing.html is only used for the debriefing text. For more information see Arma 2 Briefing creation.
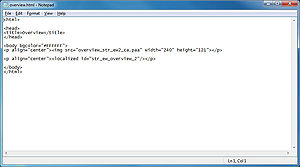
Overview.html
Main article: Overview.html
The overview.html contains simple mission description and picture visible in main menu mission selection.
